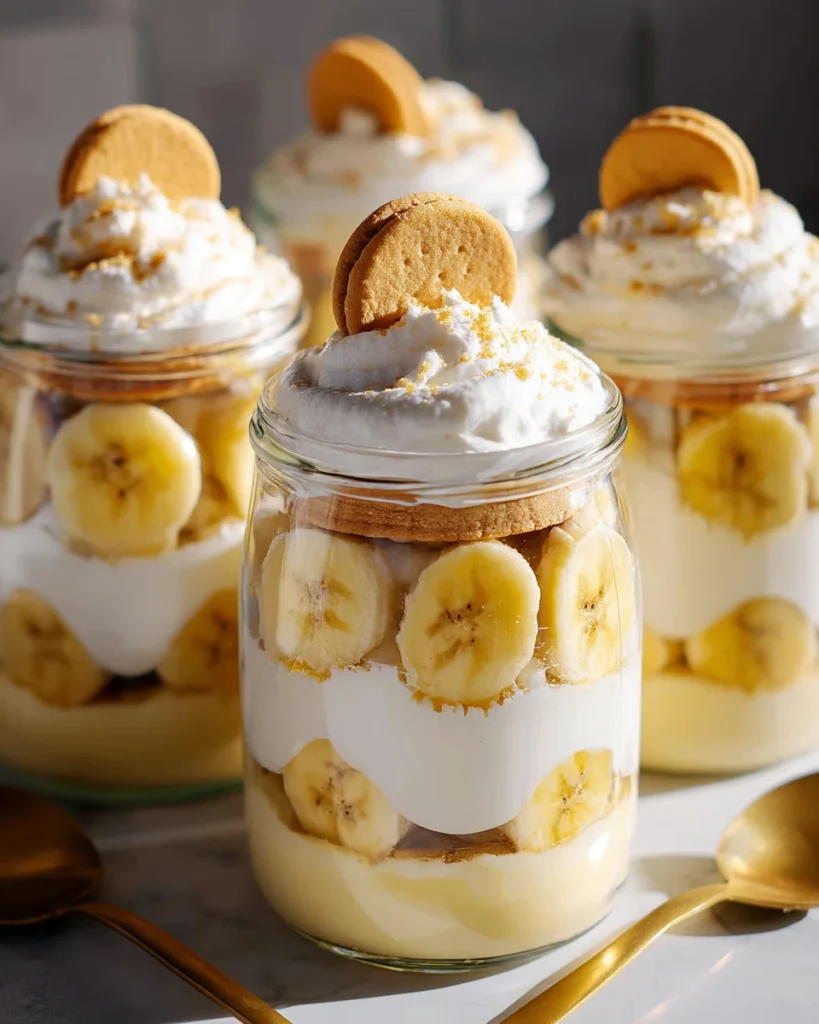
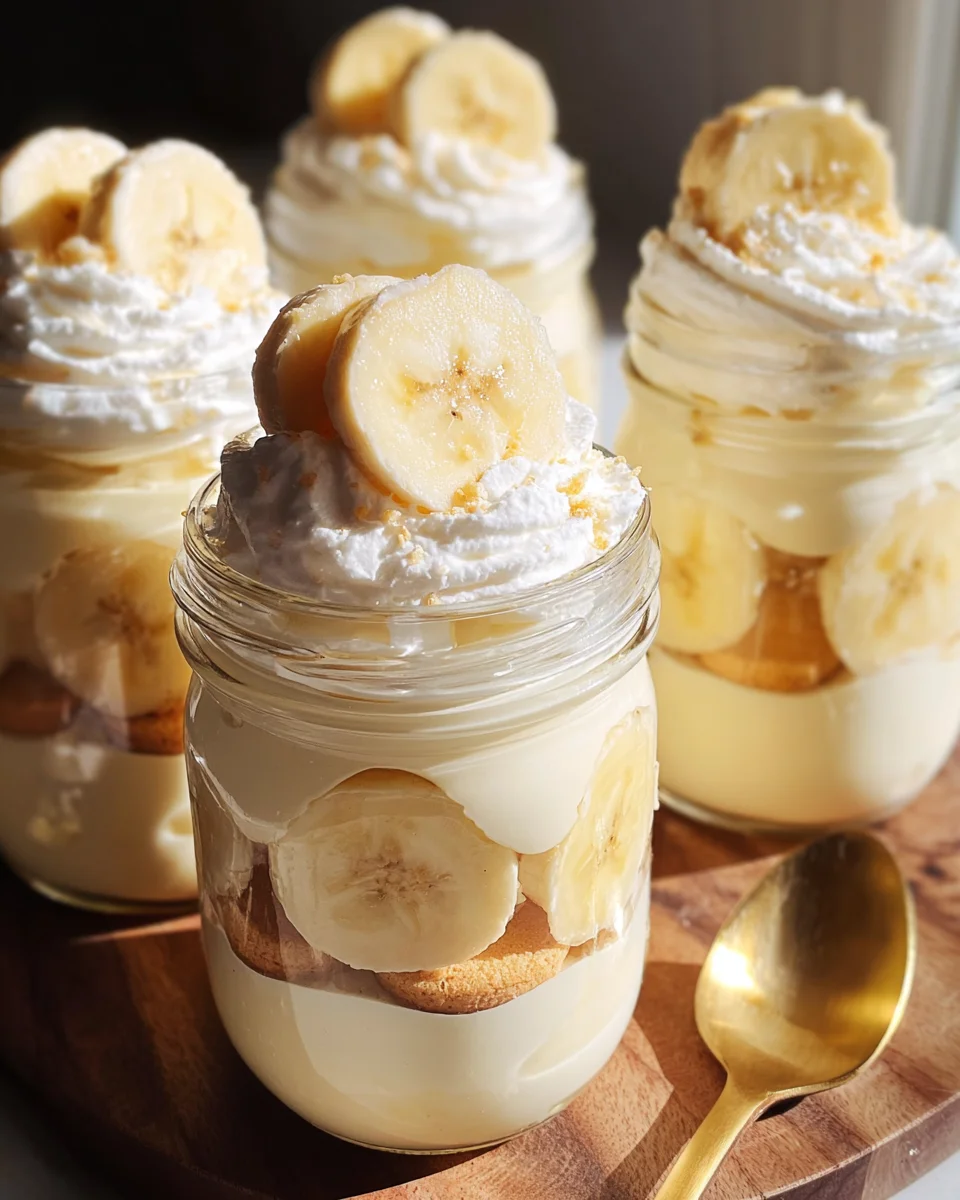
These Banana Pudding Jars are a delightful dessert that combines layers of creamy vanilla pudding, crunchy vanilla wafers, and fresh banana slices. Perfect for any gathering or simply as a sweet treat at home, these jars offer a charming presentation and an indulgent taste. Each bite delivers a perfect balance of textures and flavors, making them an irresistible choice for both kids and adults alike.
Why You’ll Love This Recipe
- Easy to Prepare: With simple ingredients and straightforward steps, these jars come together quickly, making them perfect for busy days.
- Customizable Layers: Feel free to adjust the layers of pudding, wafers, and bananas to suit your taste or dietary preferences.
- Impressive Presentation: Serving dessert in jars not only looks elegant but also allows for easy portion control.
- Make Ahead Convenience: These banana pudding jars can be prepared in advance and stored in the fridge until you’re ready to serve.
- Crowd-Pleasing Dessert: Whether it’s a family dinner or a potluck, these mini banana puddings will delight guests of all ages.
Tools and Preparation
Before diving into this delicious recipe, gather your tools. Having everything you need ready will streamline the process and make it even more enjoyable.
Essential Tools and Equipment
- Electric hand mixer
- Large mixing bowl
- Piping bag
- Small serving jars
Importance of Each Tool
- Electric hand mixer: This tool makes whipping the heavy cream effortless, ensuring you achieve stiff peaks quickly.
- Piping bag: Ideal for layering the pudding mixture neatly into jars for a beautiful presentation.
- Small serving jars: These jars not only enhance the visual appeal but also keep individual servings tidy and easy to handle.
Ingredients
These banana pudding jars are made with layers of creamy vanilla pudding, vanilla wafers, and banana slices all in cute little single-serving jars!
For the Pudding Mixture
- 340 g cold water
- 1 can condensed milk
- 1 package Jello vanilla pudding mix
- 500 g heavy cream
For the Layers
- 72 vanilla wafers (about 2 boxes)
- 3 large ripe bananas (peeled and sliced into coins)
How to Make Banana Pudding Jars
Step 1: Prepare the Pudding Mixture
- In a large bowl, stir together cold water, condensed milk, and vanilla pudding mix. Mix until smooth.
- Chill this mixture in the fridge while you continue with other steps or overnight for best results.
Step 2: Whip the Cream
- In another large mixing bowl, use an electric hand mixer to whip heavy cream until it forms stiff peaks.
Step 3: Combine Pudding and Cream
- Gradually add the chilled pudding mixture to the whipped cream, folding gently with a spatula until no streaks remain.
- Transfer this creamy mixture into a piping bag and snip off the tip.
Step 4: Layer Your Jars
- In your small serving jars, pipe a layer of pudding at the bottom.
- Add a layer of vanilla wafers, followed by a layer of sliced bananas.
- Repeat these layers until you’ve filled each jar as desired.
Step 5: Chill Before Serving
- Place the filled jars in the fridge for at least 3-4 hours to allow the wafers to soften.
- Serve on the same day before the bananas begin to brown for best flavor and appearance.
How to Serve Banana Pudding Jars
Banana pudding jars are not only delicious but also visually appealing. They make a perfect dessert for gatherings or casual family dinners. Here are some creative serving suggestions to enhance your experience.
Individual Treats
- Serve each jar with a small spoon for easy eating.
- Consider using mason jars for a rustic touch.
Garnish Options
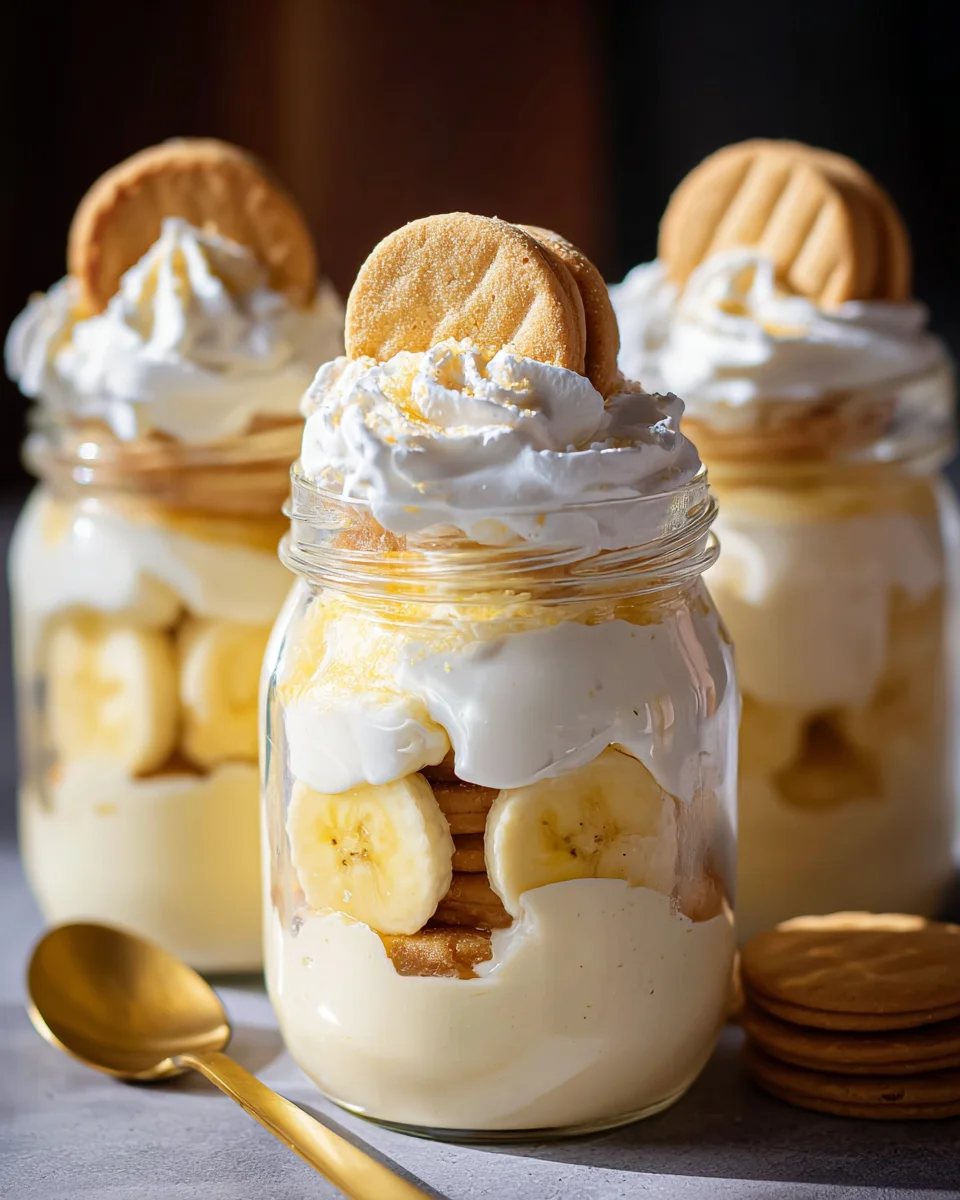
- Top each jar with whipped cream for added richness.
- Add extra banana slices or crushed vanilla wafers on top for texture.
Presentation Ideas
- Arrange the jars on a decorative platter for an eye-catching display.
- Use colorful napkins and utensils to brighten up the table setting.
Pairing Suggestions
- Serve alongside a cup of coffee or tea to complement the sweetness of the pudding.
- Offer a scoop of vanilla ice cream on the side for extra indulgence.
How to Perfect Banana Pudding Jars
Creating the perfect banana pudding jars involves attention to detail. Here are some tips to ensure your dessert shines.
- Use ripe bananas: Ripe bananas add natural sweetness and creaminess to your pudding.
- Chill thoroughly: Allowing the jars to chill helps meld the flavors and softens the wafers. Aim for at least 4 hours in the fridge.
- Layer wisely: Alternate layers of pudding, wafers, and bananas for balanced flavor in every bite.
- Avoid browning: Serve the jars on the same day you prepare them to prevent bananas from browning too quickly.
- Customize flavors: Experiment with different flavored puddings, like chocolate or butterscotch, for a unique twist on this classic dessert.
Best Side Dishes for Banana Pudding Jars
Complementing your banana pudding jars with side dishes can elevate your dessert experience. Here are some delightful options to consider:
- Fruit Salad – A refreshing mix of seasonal fruits can balance out the richness of banana pudding.
- Chocolate Chip Cookies – These classic treats add a crunchy contrast that perfectly pairs with creamy desserts.
- Mini Cheesecakes – Individual cheesecakes offer a decadent alternative that guests will love.
- Pineapple Upside-Down Cake – This retro favorite provides a sweet and tangy flavor profile alongside your pudding jars.
- Macarons – Light and airy macarons can add elegance and variety in flavors that complement banana pudding.
- Coffee Cake – The moist texture and cinnamon flavor pair wonderfully with the sweet creamy taste of banana pudding jars.
Common Mistakes to Avoid
Avoiding common mistakes can help you create the perfect banana pudding jars. Here are some key pitfalls to watch out for.
- Skipping the chilling step: Failing to chill the pudding mixture will result in a less creamy texture. Always allow it to cool in the fridge for at least 3-4 hours.
- Overmixing the whipped cream: Whipping the cream too long can cause it to turn into butter. Stop mixing once you see stiff peaks for the best consistency.
- Using unripe bananas: Unripe bananas lack sweetness and flavor. Choose ripe bananas for a richer taste in your banana pudding jars.
- Not layering properly: Inconsistent layers can affect presentation and taste. Make sure to layer pudding, wafers, and bananas evenly for best results.
- Using stale wafers: Old or stale vanilla wafers won’t soften nicely. Always use fresh wafers for that perfect texture in your dessert.
Storage & Reheating Instructions
Refrigerator Storage
- Store banana pudding jars in airtight containers.
- They can be kept in the refrigerator for up to 2 days.
Freezing Banana Pudding Jars
- Freezing is not recommended as it may alter the texture of the cream and bananas.
- If necessary, store without bananas and add fresh ones after thawing.
Reheating Banana Pudding Jars
- Oven: Not recommended as heating can harm the creamy texture.
- Microwave: You can warm them slightly but do so in short intervals to avoid cooking the pudding.
- Stovetop: This method is also not advised since gentle heat is hard to control with layered desserts.
Frequently Asked Questions
Here are answers to some common questions about banana pudding jars.
What are Banana Pudding Jars?
Banana pudding jars are individual servings of layered dessert made with vanilla pudding, wafers, and banana slices, all packaged in cute jars.
How long do Banana Pudding Jars last?
When stored properly in the refrigerator, they last up to 2 days. However, it’s best to consume them fresh to enjoy optimal flavor and texture.
Can I customize my Banana Pudding Jars?
Yes! You can customize by adding chocolate chips, different fruits, or using flavored pudding mixes for variety.
Are Banana Pudding Jars kid-friendly?
Absolutely! They are a fun dessert for kids and easy enough for them to help make their own layers.
Can I use instant pudding mix?
You can use instant pudding mix; just follow package instructions but remember that it may change the final texture slightly.
Final Thoughts
These banana pudding jars are not only delightful but also versatile. You can easily customize them with different flavors or toppings based on your preferences. Give this recipe a try and impress your friends and family with these charming little desserts!
Banana Pudding Jars
Banana Pudding Jars are a delightful, layered dessert that captures the essence of classic banana pudding in an elegant presentation. These individual servings combine creamy vanilla pudding, crunchy vanilla wafers, and fresh banana slices, making them perfect for any occasion—whether it’s a family gathering or a casual weeknight treat. Their charming jars not only enhance visual appeal but also make portion control easy. With each bite, you experience a harmonious blend of textures and flavors that will satisfy both kids and adults. Easy to prepare and customizable, these jars are sure to become a favorite dessert.
- Prep Time: 20 minutes
- Cook Time: None
- Total Time: 0 hours
- Yield: Serves approximately 6 jars 1x
- Category: Dessert
- Method: No cooking, requires chilling
- Cuisine: American
Ingredients
- 340 g cold water
- 1 can condensed milk
- 1 package Jello vanilla pudding mix
- 500 g heavy cream
- 72 vanilla wafers (about 2 boxes)
- 3 large ripe bananas (peeled and sliced)
Instructions
- Prepare the pudding mixture: In a bowl, mix cold water, condensed milk, and vanilla pudding until smooth. Chill in the fridge.
- Whip the cream: Use an electric mixer to whip heavy cream until stiff peaks form.
- Combine: Gradually fold the chilled pudding mixture into the whipped cream until smooth.
- Layer: Pipe pudding into small jars, followed by layers of vanilla wafers and banana slices. Repeat until jars are filled.
- Chill: Refrigerate for at least 3-4 hours before serving.
Nutrition
- Serving Size: 1 serving
- Calories: 320
- Sugar: 28g
- Sodium: 150mg
- Fat: 18g
- Saturated Fat: 10g
- Unsaturated Fat: 8g
- Trans Fat: 0g
- Carbohydrates: 36g
- Fiber: 1g
- Protein: 5g
- Cholesterol: 50mg