Make your own Homemade Apple Cider Vinegar at home! This delightful addition to your pantry not only uses up excess apples or scraps but also enhances your meals with its tangy flavor. Whether you’re drizzling it on salads, using it in marinades, or enjoying its health benefits, this vinegar is versatile and packed with probiotics. Embrace sustainability in the kitchen while crafting a delicious and healthy condiment that shines on various occasions.
Why You’ll Love This Recipe
- Minimal Waste: Use leftover apple scraps like skins and cores, making this recipe eco-friendly.
- Health Benefits: Packed with probiotics, it supports gut health and boosts immunity.
- Simple Process: Just a few ingredients and steps make this a hassle-free project.
- Versatile Uses: Perfect for salad dressings, marinades, and even natural remedies.
- Customizable Flavor: Adjust fermentation time for your ideal tartness.
Tools and Preparation
Before diving into the recipe, gather the necessary tools to ensure a smooth process. Having the right equipment makes all the difference when crafting your Homemade Apple Cider Vinegar.
Essential Tools and Equipment
- Fermenting vessel (glass jar or crock)
- Stirring utensil (wooden spoon)
- Breathable cover (cheesecloth or coffee filter)
- Strainer
Importance of Each Tool
- Fermenting vessel: A glass jar allows you to monitor fermentation without contamination.
- Breathable cover: Prevents dust accumulation while allowing air circulation essential for fermentation.
- Strainer: Helps separate liquid from solids after fermentation for a clear vinegar.
Ingredients
To create your own Homemade Apple Cider Vinegar, you will need:
For the Base
- Diced apple chunks or apple scraps: enough to fill half of your fermenting vessel.
For Sweetening
- 1 tbsp sugar: per 1 cup filtered water.
- 1 cup sugar: per 1 gallon filtered water.
For Liquid
- Filtered water: required to fill the fermenting vessel.
For Inoculation
- Finished organic apple cider vinegar: optional for inoculating the culture.
How to Make Homemade Apple Cider Vinegar
Step 1: Prepare Your Apples
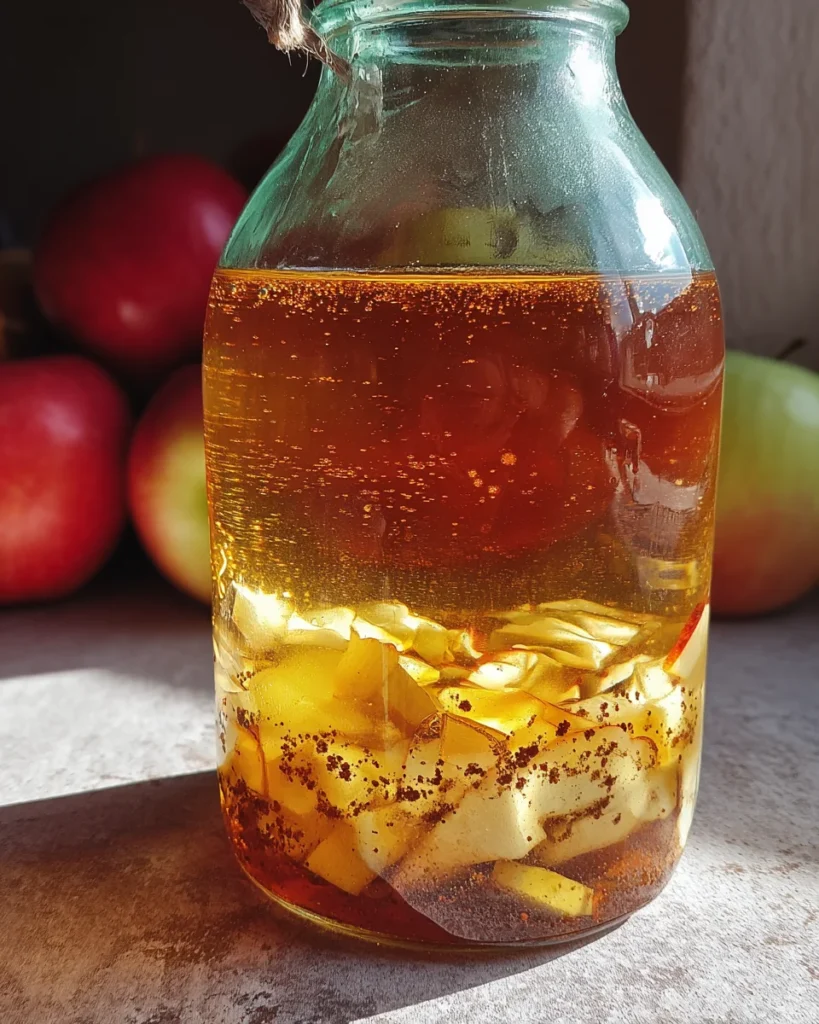
Wash and chop the apples into chunks or gather frozen apple scraps, filling your fermenting vessel halfway.
Step 2: Add Water
Pour lukewarm filtered water over apples until almost full. Note the total amount of water added.
Step 3: Stir in Sugar
Stir in sugar based on 1 tbsp per cup of water or 1 cup per gallon for larger batches.
Step 4: Optional Inoculation
Add a splash of finished organic apple cider vinegar to inoculate if desired.
Step 5: Cover Mixture
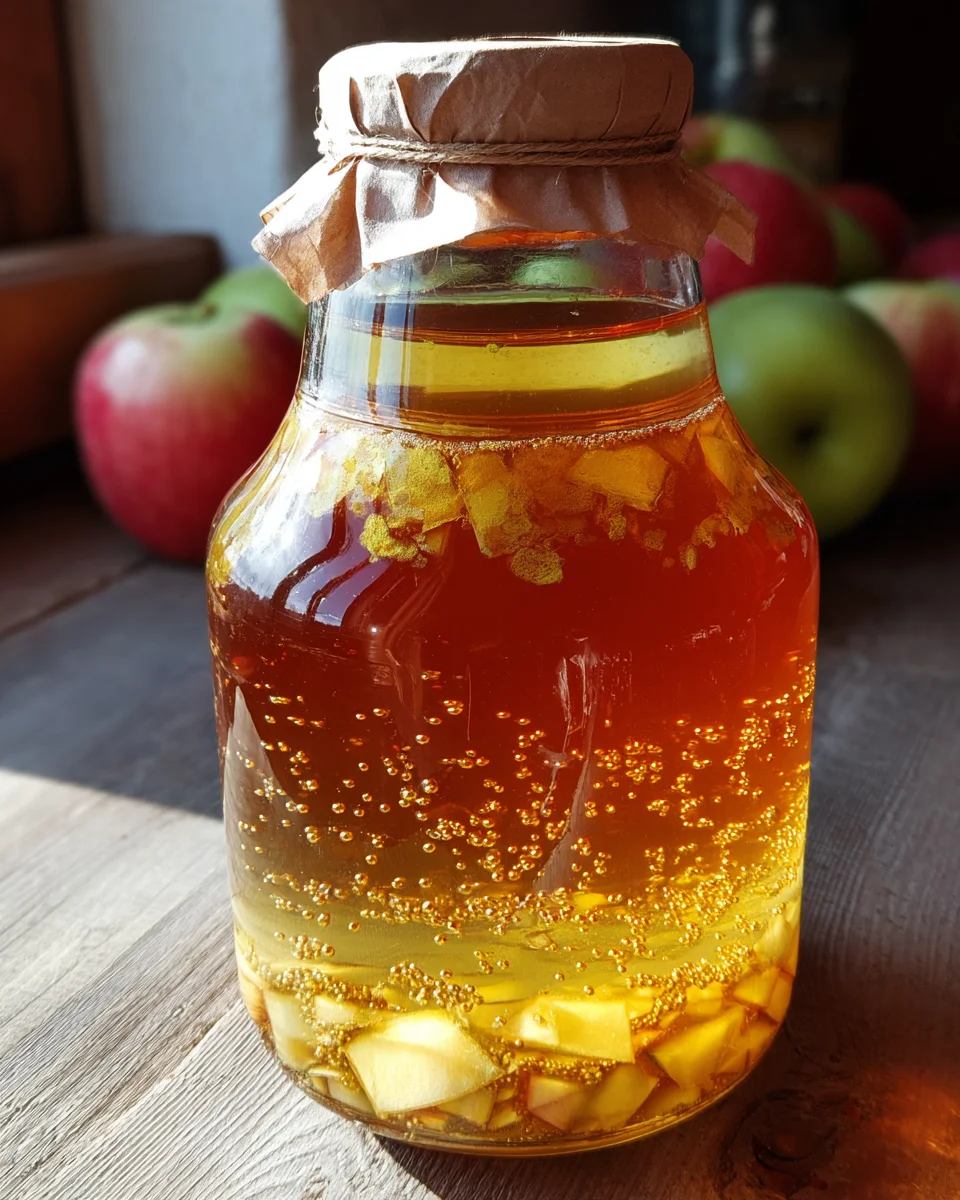
Stir thoroughly and cover with breathable material like cheesecloth.
Step 6: Fermentation Process
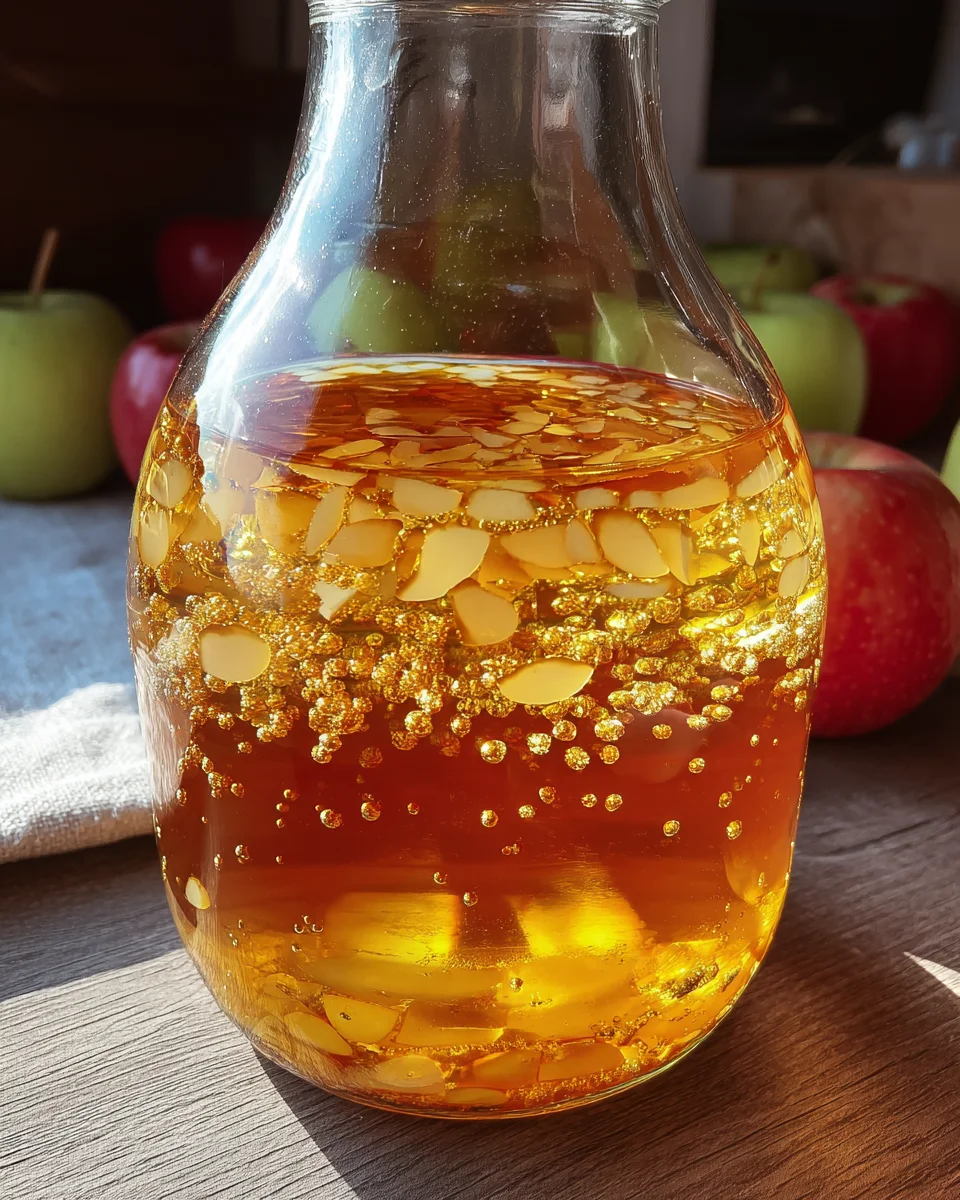
Store in a dark location at 70–75°F for 2 weeks. Stir daily to prevent mold from forming.
Step 7: Strain Liquid
After 2 weeks, strain the liquid into a similar-sized container and compost the fruit scraps.
Step 8: Long-Term Fermentation
Move the liquid container back to a dark location for long-term fermentation.
Step 9: Taste Test
After 1 month, taste the vinegar. You can let it ferment up to 3 months for your desired tartness.
Step 10: Bottling
Once ready, transfer to bottles with lids. Store at room temperature or refrigerate as needed.
Step 11: Storage Longevity
Properly fermented apple cider vinegar keeps over a year if free of mold and off flavors.
Enjoy your homemade creation!
How to Serve Homemade Apple Cider Vinegar
Homemade apple cider vinegar (ACV) is versatile and can enhance various dishes and beverages. Here are some delightful ways to incorporate your homemade creation into your meals.
In Salad Dressings
- Combine ACV with olive oil, mustard, and herbs for a fresh salad dressing.
- Use it as a tangy base in creamy dressings by mixing with yogurt or mayonnaise.
As a Marinade
- Mix ACV with soy sauce, garlic, and ginger for a zesty marinade for chicken or tofu.
- Add it to vegetable marinades to boost flavor before grilling.
In Beverages
- Dilute ACV in water with honey and lemon for a refreshing drink.
- Create a tangy cocktail by mixing ACV with spirits like vodka or gin.
For Pickling
- Use ACV as a pickling agent for vegetables, adding spices according to taste.
- Quick-pickle onions or cucumbers using your homemade vinegar for a crunchy side.
In Sauces and Glazes
- Incorporate ACV into BBQ sauces to balance sweetness with acidity.
- Use it in glazes for meats, providing depth of flavor when roasted.
How to Perfect Homemade Apple Cider Vinegar
Creating the best homemade apple cider vinegar requires attention and care. Here are some tips to ensure perfection.
- Choose quality apples: Using organic apples will yield better flavors and nutrients.
- Maintain cleanliness: Ensure all equipment is sanitized to prevent unwanted bacteria during fermentation.
- Monitor temperature: Keeping the fermentation process between 70–75°F is crucial for optimal results.
- Stir daily: This helps aerate the mixture and prevents mold from forming on the surface.
- Taste regularly: Check the flavor after one month; adjust fermentation time based on your preference for tartness.
- Store properly: Once ready, keep your vinegar in dark glass bottles to preserve its quality.
Best Side Dishes for Homemade Apple Cider Vinegar
Pairing homemade apple cider vinegar with side dishes can elevate your meals. Here are some excellent options that complement its tangy flavor.
- Roasted Vegetables – Toss seasonal veggies in olive oil and ACV before roasting for extra zest.
- Coleslaw – Mix shredded cabbage with a tangy dressing made from ACV for a crunchy side.
- Quinoa Salad – Combine cooked quinoa with chopped veggies and an ACV vinaigrette for a nutritious dish.
- Crispy Potatoes – Drizzle roasted potatoes with ACV after cooking for added brightness.
- Stuffed Peppers – Enhance the filling with a splash of ACV to bring out savory flavors.
- Grilled Asparagus – Marinate asparagus in ACV before grilling for an elegant side.
- Apple Slaw – Use chopped apples in slaw, dressed with homemade ACV, for a refreshing twist.
- Baked Beans – Add a touch of ACV to baked beans for a delightful balance of sweetness and acidity.
Common Mistakes to Avoid
Making your own Homemade Apple Cider Vinegar can be simple, but some common mistakes can affect the quality of your vinegar.
- Not using clean equipment: Always sanitize your fermenting vessel and utensils. Any residual bacteria can spoil your vinegar.
- Ignoring temperature requirements: Keep your fermenting mixture between 70–75°F. Too cold or too hot can slow fermentation or kill beneficial bacteria.
- Skipping the stirring process: Stir daily to prevent mold formation. Neglecting this step can lead to an undesirable flavor and texture.
- Using non-organic ingredients: Choose organic apples and cider vinegar for better flavor and probiotic content. Non-organic options may contain additives that disrupt fermentation.
- Rushing the fermentation process: Patience is key! Allow at least one month for fermentation, tasting periodically until you achieve your desired tartness.
Storage & Reheating Instructions
Refrigerator Storage
- Store your Homemade Apple Cider Vinegar in a tightly sealed bottle.
- It can last up to a year in the refrigerator without losing quality.
Freezing Homemade Apple Cider Vinegar
- Although freezing is not recommended, if you choose to do so, use freezer-safe containers.
- Homemade Apple Cider Vinegar can be stored in the freezer for up to 6 months.
Reheating Homemade Apple Cider Vinegar
- Oven: Place in an oven-safe dish and warm gently at low heat.
- Microwave: Heat in short intervals on low power, stirring frequently to avoid overheating.
- Stovetop: Warm on low heat in a saucepan, stirring often until desired temperature is reached.
Frequently Asked Questions
Here are some common questions about Homemade Apple Cider Vinegar.
How long does it take to make Homemade Apple Cider Vinegar?
The initial fermentation takes about two weeks, followed by another month for aging. Total time can vary depending on taste preference.
Can I use any type of apple?
Yes, you can use any variety of apples! Experiment with different types for unique flavors in your Homemade Apple Cider Vinegar.
What is the best way to use Homemade Apple Cider Vinegar?
Homemade Apple Cider Vinegar is versatile; use it in salad dressings, marinades, or as a health tonic mixed with water.
How do I know when my vinegar is ready?
Taste it after one month; if it’s too mild, allow it to ferment longer until it reaches your preferred level of tartness.
Can I reuse the apple scraps for another batch?
It’s best not to reuse apple scraps as they lose their flavor and beneficial bacteria after the first fermentation.
Final Thoughts
Making your own Homemade Apple Cider Vinegar is rewarding and allows for customization based on your taste preferences. Whether you enjoy it in salad dressings or as a health booster, this recipe offers endless possibilities. Try adding spices or herbs during fermentation for an exciting twist!
Homemade Apple Cider Vinegar
Crafting your own Homemade Apple Cider Vinegar is a rewarding experience that not only utilizes apple scraps but also introduces a burst of flavor and health benefits to your meals. This easy-to-follow recipe allows you to create a probiotic-rich vinegar perfect for salad dressings, marinades, and wellness tonics. With minimal ingredients and a straightforward process, you can embrace sustainability in your kitchen while enjoying the tangy goodness of homemade vinegar. Customize the fermentation time to achieve your desired tartness, and elevate your culinary creations with this versatile pantry staple!
- Prep Time: 15 minutes
- Cook Time: Fermentation varies
- Total Time: 0 hours
- Yield: Approximately 2 cups 1x
- Category: Condiment
- Method: Fermentation
- Cuisine: American
Ingredients
- Diced apple chunks or apple scraps (enough to fill half of your fermenting vessel)
- Sugar (1 tbsp per cup of water or 1 cup per gallon)
- Filtered water (to fill the fermenting vessel)
- Optional: Finished organic apple cider vinegar for inoculation
Instructions
- Prepare your apples by washing and chopping them into chunks or using frozen scraps, filling the fermenting vessel halfway.
- Pour lukewarm filtered water over the apples until almost full.
- Stir in sugar based on 1 tbsp per cup or 1 cup per gallon of water.
- If desired, add a splash of finished organic apple cider vinegar to inoculate.
- Cover the mixture with cheesecloth or a breathable cover.
- Store in a dark location at 70–75°F for two weeks, stirring daily.
- After two weeks, strain the liquid into another container and compost the fruit scraps.
- For long-term fermentation, store the strained liquid back in a dark place.
- Taste after one month; let it ferment up to three months for preferred tartness.
- Transfer to bottles once ready; store at room temperature or refrigerate as needed.
Nutrition
- Serving Size: 1 tablespoon (15g)
- Calories: 3
- Sugar: 0g
- Sodium: 0mg
- Fat: 0g
- Saturated Fat: 0g
- Unsaturated Fat: 0g
- Trans Fat: 0g
- Carbohydrates: 0g
- Fiber: 0g
- Protein: 0g
- Cholesterol: 0mg