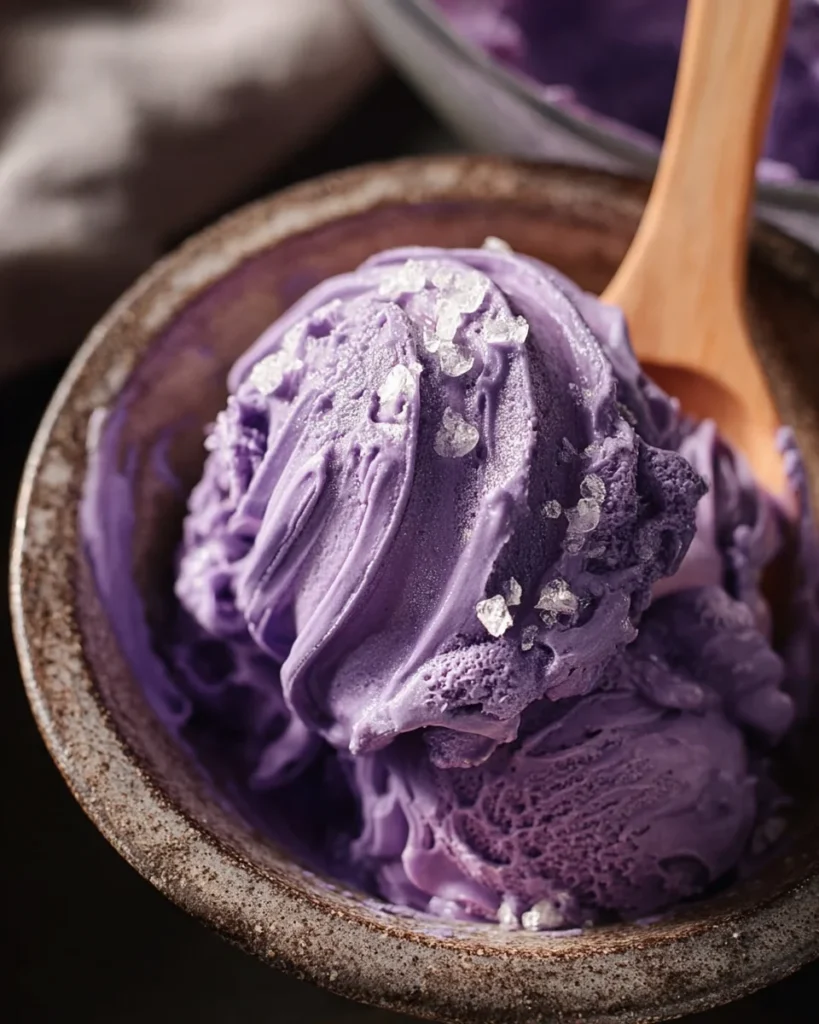
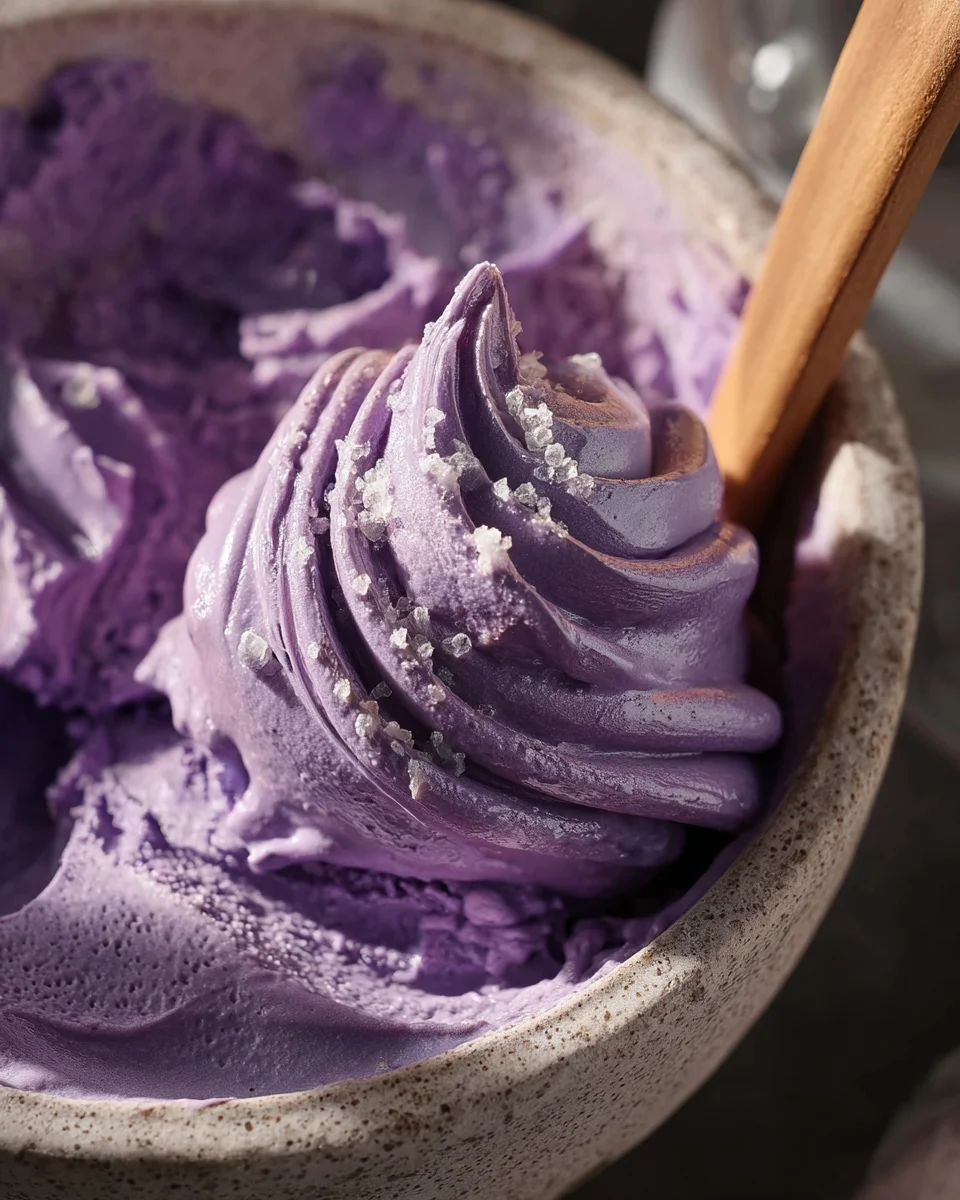
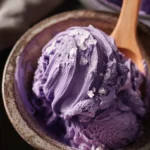
Creamy and delightful, Homemade No-Churn Ube Ice Cream is a treat that brings the unique flavor of purple yam straight to your bowl. This simple recipe requires just three ingredients, making it perfect for any occasion, from summer barbecues to cozy desserts at home. Its vibrant color and rich taste will impress your guests and satisfy your sweet cravings.
Why You’ll Love This Recipe
- Easy to Make: With only three ingredients, you can whip this up in no time.
- No Ice Cream Maker Needed: This recipe doesn’t require any special equipment—just a whisk!
- Deliciously Unique Flavor: The ube extract provides a distinct taste that sets this ice cream apart.
- Perfect for Any Occasion: Whether it’s a birthday party or a casual family dessert, this ice cream fits right in.
- Versatile Treat: Enjoy it on its own or use it as a topping for other desserts.
Tools and Preparation
Before diving into making your homemade ice cream, gather the necessary tools. Having everything ready will streamline the process and make your experience enjoyable.
Essential Tools and Equipment
- Mixing bowl
- Electric hand mixer with whisk attachment
- Rubber spatula
- Loaf pan
- Plastic wrap
- Ice cream scooper
Importance of Each Tool
- Mixing bowl: A large bowl allows ample space for whipping the cream without splattering.
- Electric hand mixer: This tool ensures quick and effective whipping of the cream to achieve stiff peaks.
- Rubber spatula: Ideal for folding ingredients without deflating the whipped cream.
Ingredients
Creamy no-churn ube ice cream with only 3 ingredients!
For the Ice Cream Base
- 600 g heavy cream (cold)
- 1 tablespoon ube extract
- 375 g sweetened condensed milk (one 14oz can)
How to Make Homemade No-Churn Ube Ice Cream
Step 1: Whip the Cream
In a large mixing bowl, add the cold heavy cream and ube extract. Use an electric hand mixer fitted with a whisk attachment to beat the mixture until it reaches stiff peaks. This step is crucial as it incorporates air into the cream, giving your ice cream its fluffy texture.
Step 2: Fold in Condensed Milk
Slowly drizzle the sweetened condensed milk into the whipped cream. Gently fold it in with a rubber spatula. Be careful not to overmix; you want to maintain the airiness of the whipped cream while ensuring there are no streaks of condensed milk left.
Step 3: Freeze the Mixture
Pour your creamy mixture into a loaf pan. Cover it tightly with plastic wrap to prevent freezer burn. Place it in the freezer overnight or for at least 6-8 hours until fully set.
Step 4: Serve and Enjoy!
When you’re ready to serve your homemade no-churn ube ice cream, run your ice cream scooper under hot water and pat it dry before scooping out portions. This technique makes serving easier and helps achieve that perfect scoop shape. Enjoy!
How to Serve Homemade No-Churn Ube Ice Cream
Serving Homemade No-Churn Ube Ice Cream can elevate your dessert experience. With its vibrant purple hue and creamy texture, it’s perfect for various occasions. Here are some delightful serving suggestions that will impress your guests.
In a Waffle Cone
- Use crispy waffle cones for a fun and crunchy contrast to the smooth ice cream.
With Fresh Fruits
- Pair your ube ice cream with fresh fruits like mango or strawberries for a refreshing touch.
Topped with Coconut Flakes
- Sprinkle toasted coconut flakes on top for a tropical flavor that complements the ube.
Drizzled with Chocolate Sauce
- A drizzle of rich chocolate sauce adds a decadent sweetness that balances the ube’s flavor.
Served with Filipino Desserts
- Enjoy your ice cream alongside traditional Filipino desserts like leche flan or bibingka for a unique twist.
In Milkshakes
- Blend scoops of ube ice cream with milk to create a deliciously creamy milkshake.

How to Perfect Homemade No-Churn Ube Ice Cream
To achieve the best results with your Homemade No-Churn Ube Ice Cream, follow these simple tips. They will help you make an even creamier and more flavorful treat.
- Use cold ingredients: Ensure your heavy cream is very cold before whipping; this helps achieve stiff peaks easily.
- Be gentle when folding: When mixing in the condensed milk, fold gently to keep the mixture airy and fluffy.
- Freeze properly: Allow sufficient freezing time, ideally overnight, to ensure the ice cream sets perfectly.
- Experiment with flavors: Feel free to adjust the amount of ube extract for a stronger or milder flavor based on your preference.
- Serve at room temperature: Let the ice cream sit out for a few minutes before scooping for easier serving.
- Store in an airtight container: To maintain freshness and prevent ice crystals, store leftovers in an airtight container.
Best Side Dishes for Homemade No-Churn Ube Ice Cream
Pairing side dishes with your Homemade No-Churn Ube Ice Cream can enhance its deliciousness. Here are some great options that complement its unique flavor profile:
- Leche Flan: This silky caramel custard offers a rich, sweet contrast to the icy texture of ube ice cream.
- Bibingka: A warm rice cake made with coconut milk that pairs beautifully with cold ice cream.
- Puto: These steamed rice cakes are light and fluffy, making them an excellent side for rich desserts.
- Fresh Mango Slices: Sweet and juicy mango slices bring a refreshing taste that balances the creamy ube.
- Halo-Halo Ingredients: Incorporate elements like sweet beans and jello from this popular Filipino dessert for added texture.
- Cassava Cake: This sweet and chewy treat made from cassava root complements the flavors of ube well.
- Suman: Sticky rice wrapped in banana leaves adds a delightful chewiness when enjoyed alongside ice cream.
- Sweet Banana Turon: Fried bananas wrapped in spring roll wrappers offer crispy sweetness that goes well with creamy desserts.
Common Mistakes to Avoid
Making Homemade No-Churn Ube Ice Cream can be simple, but a few common mistakes can ruin your experience. Here are some pitfalls to avoid.
- Overwhipping the Cream: Whipping the cream too much can lead to a grainy texture. Stop mixing once stiff peaks form for the best results.
- Skipping Ube Extract: Not using ube extract might result in a bland flavor. Ensure you use quality ube extract to enhance the ice cream’s taste.
- Not Folding Gently: Overmixing when adding condensed milk deflates the whipped cream. Use a gentle folding technique to maintain airiness.
- Freezing for Too Short a Time: If you don’t freeze the mixture long enough, it won’t set properly. Aim for at least 8 hours in the freezer for perfect consistency.
- Using Warm Ingredients: Adding warm ingredients can cause the cream to melt. Ensure all components are cold before starting your recipe.
Storage & Reheating Instructions
Refrigerator Storage
- Store any leftover ice cream in an airtight container.
- It will last up to 3 days in the refrigerator.
Freezing Homemade No-Churn Ube Ice Cream
- Keep your homemade ice cream in a tightly sealed container.
- It can be frozen for up to 2 months without losing quality.
Reheating Homemade No-Churn Ube Ice Cream
- Oven: Not recommended as ice cream does not reheat well in an oven.
- Microwave: Use short intervals (10-15 seconds) on low power to soften slightly if needed.
- Stovetop: Again, not ideal; it’s best served directly from the freezer.
Frequently Asked Questions
If you’re curious about making Homemade No-Churn Ube Ice Cream, here are some frequently asked questions to help you out.
Can I use fresh ube instead of ube extract?
Fresh ube can be used, but it requires more preparation and may change the texture and flavor of the ice cream.
How can I make this recipe dairy-free?
To make a dairy-free version, substitute heavy cream with coconut cream and use sweetened condensed coconut milk.
What if I don’t have an electric mixer?
You can whip by hand using a whisk, but it will take significantly longer and require more effort.
How do I serve my homemade ube ice cream?
For easier scooping, run your ice cream scoop under hot water before serving. This helps it glide smoothly through the frozen dessert.
Final Thoughts
This Homemade No-Churn Ube Ice Cream is not only easy to prepare but also incredibly delightful. Its creamy texture and vibrant color make it a hit for any occasion. You can customize it with toppings like crushed nuts or fruits, making it even more appealing. Give this recipe a try and enjoy a taste of Filipino dessert magic!
Homemade No-Churn Ube Ice Cream
Indulge in the creamy goodness of Homemade No-Churn Ube Ice Cream, a delightful dessert that showcases the unique flavor of purple yam. This easy-to-make treat requires just three ingredients, making it perfect for any occasion—whether you’re hosting summer barbecues or enjoying a cozy night in. With its vibrant purple hue and rich taste, this ice cream is sure to impress both family and friends. Not only does it offer a refreshing twist on traditional ice cream, but it’s also versatile enough to pair with various toppings and desserts. With no ice cream maker needed, you can whip up this heavenly creation effortlessly!
- Prep Time: 15 minutes
- Cook Time: None
- Total Time: 0 hours
- Yield: Approximately 6 servings 1x
- Category: Dessert
- Method: No churn
- Cuisine: Filipino
Ingredients
- 600 g heavy cream (cold)
- 1 tablespoon ube extract
- 375 g sweetened condensed milk (one 14oz can)
Instructions
- In a large mixing bowl, combine cold heavy cream and ube extract. Use an electric hand mixer to whip until stiff peaks form.
- Gradually fold in sweetened condensed milk using a rubber spatula, ensuring not to deflate the whipped cream.
- Pour the mixture into a loaf pan and cover tightly with plastic wrap. Freeze overnight or for at least 6-8 hours until fully set.
- To serve, run an ice cream scooper under hot water before scooping portions.
Nutrition
- Serving Size: 1 serving
- Calories: 410
- Sugar: 28g
- Sodium: 40mg
- Fat: 32g
- Saturated Fat: 20g
- Unsaturated Fat: 10g
- Trans Fat: 0g
- Carbohydrates: 31g
- Fiber: 0g
- Protein: 5g
- Cholesterol: 105mg